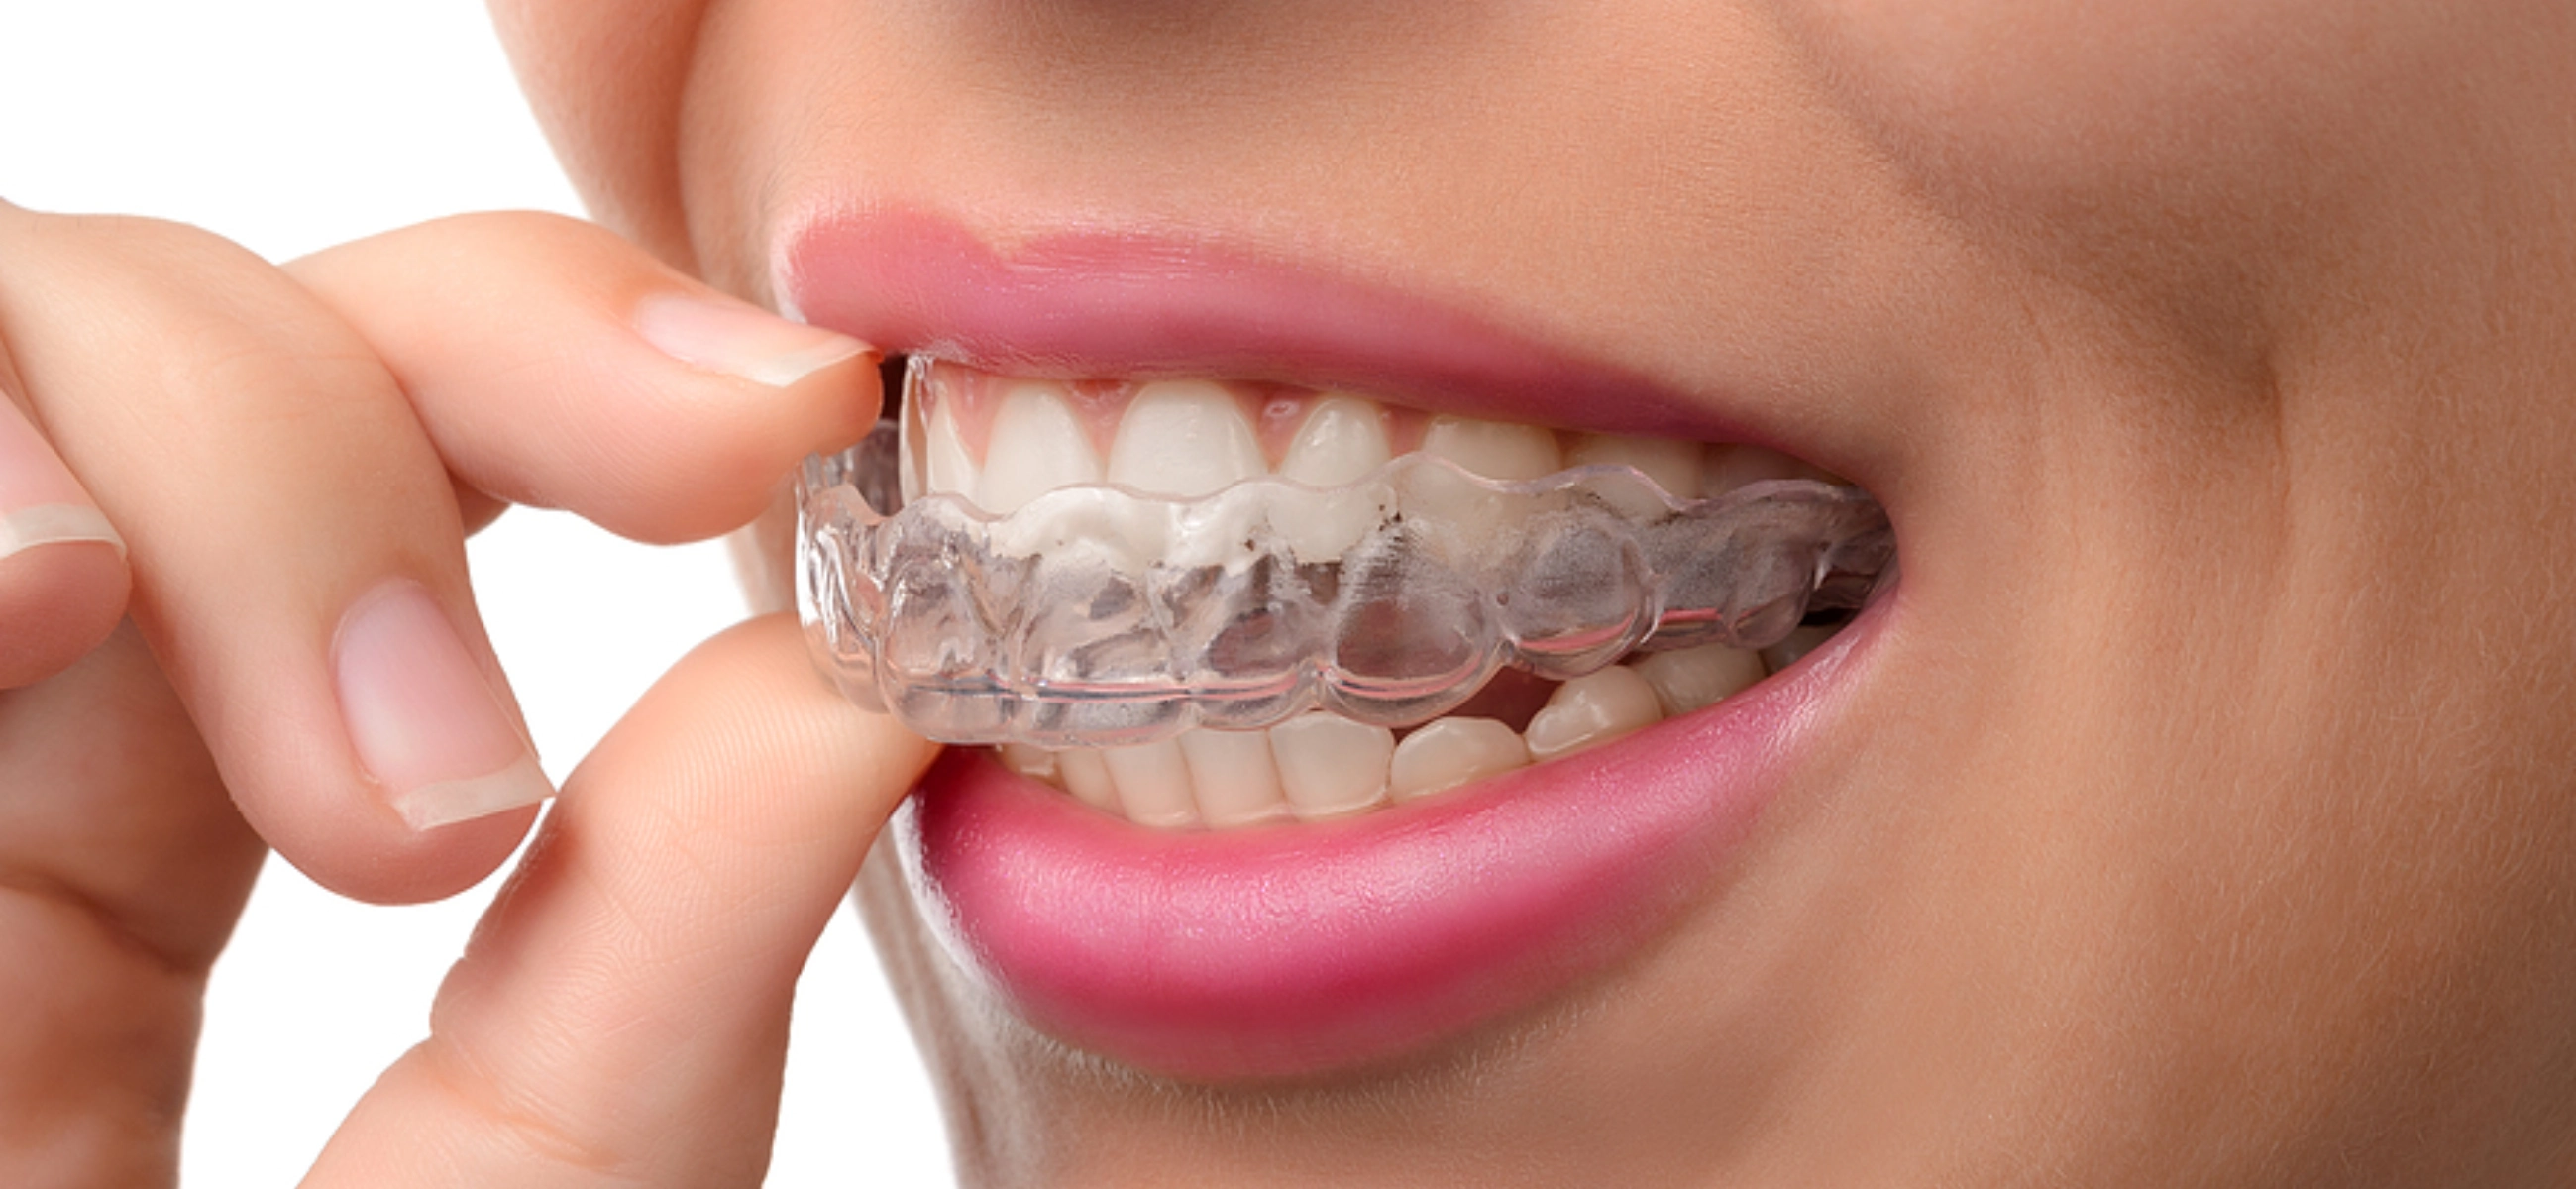
Keeping your teeth and gums healthy isn’t just about brushing; flossing is super foremost too. There are a bunch of situations where you really need to use dental floss, like if you have tight spaces between your teeth, braces, or bridges.
Knowing the right technique and picking the right type of floss, especially if you have special dental needs, can make a huge difference in your dental health. This guide is posted for anyone who wants to get the hang of flossing.
How to use dental floss correctly? 4 steps!
Flossing might seem tricky at first, but with the right steps, it can become a simple and effective part of your daily routine. Here’s a quick guide to help you master the art of flossing:
Get the right length

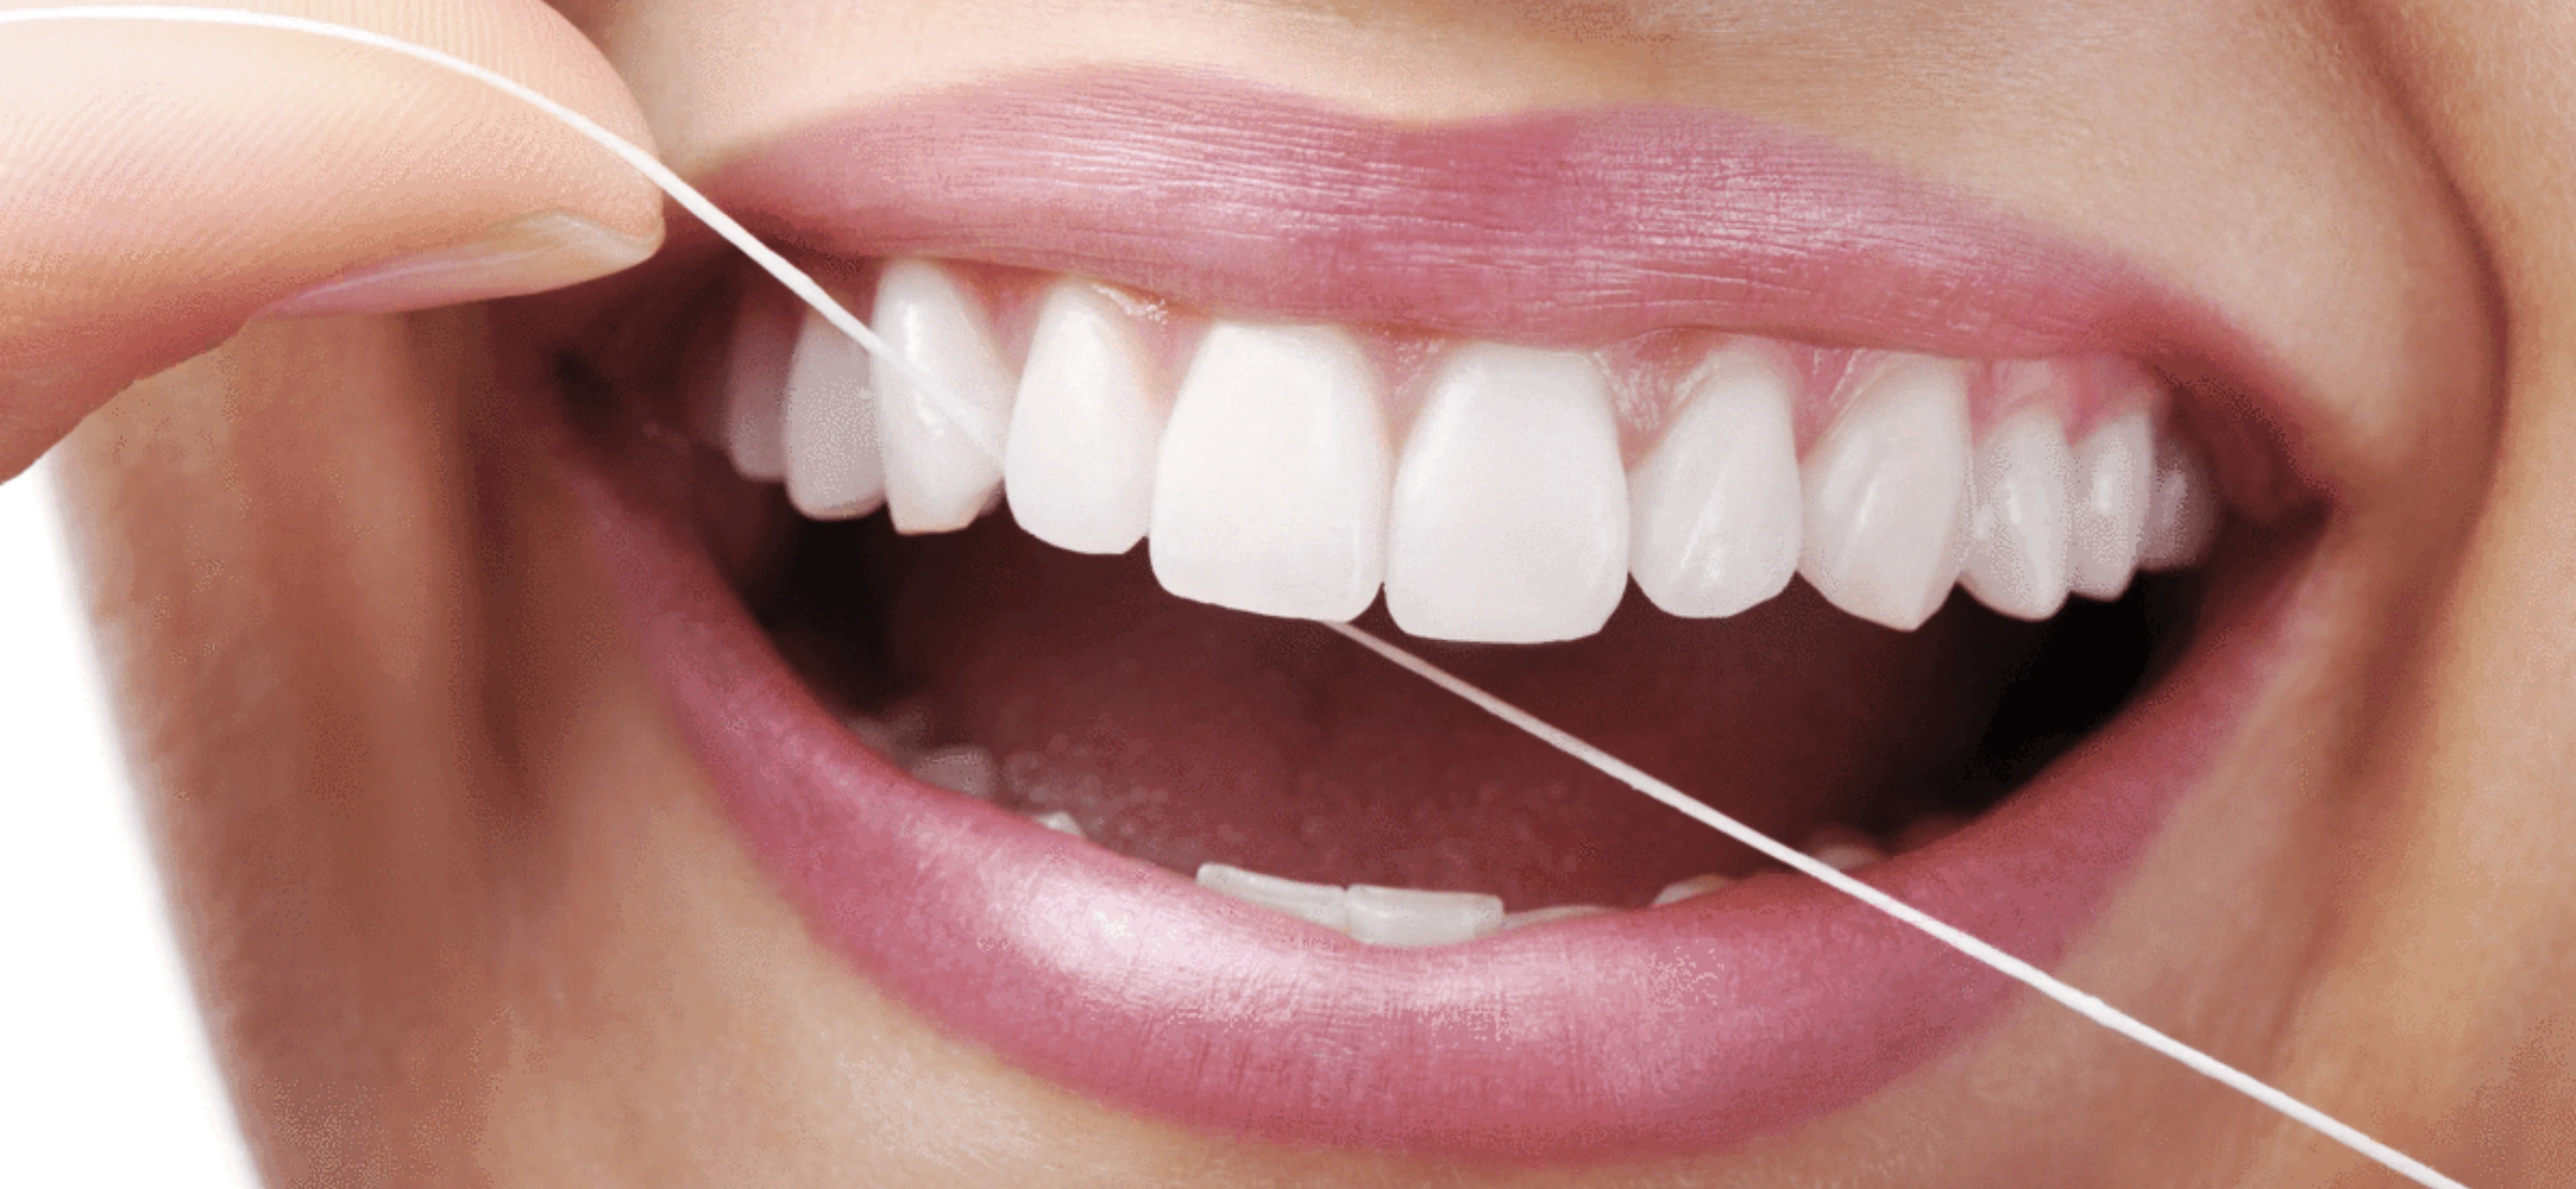
Grab about 18 inches of dental floss. Yes, it seems long, but you’ll need that extra length to keep using a clean section as you go. Wind most of it around your middle fingers and leave about 1-2 inches to work with.
Guide and glide
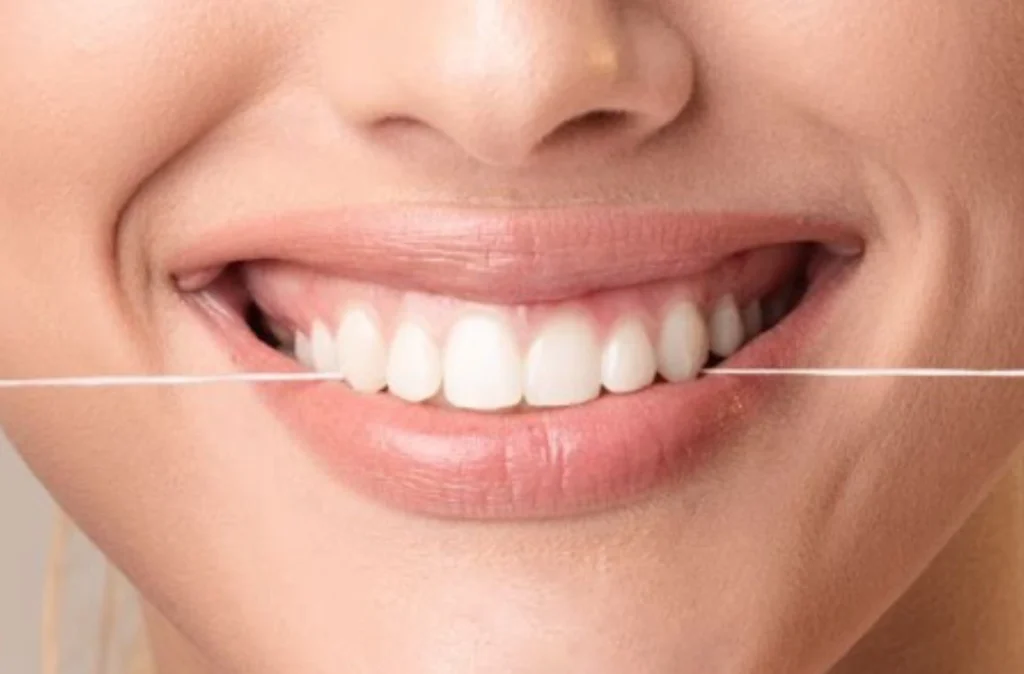
Hold the floss tightly between your thumbs and forefingers. Try to slowly slide it between your teeth using a back-and-forth motion. Don’t snap it into your gums—that hurts and can cause damage. Think of it like threading a needle: careful and precise.
Form a “C” shape
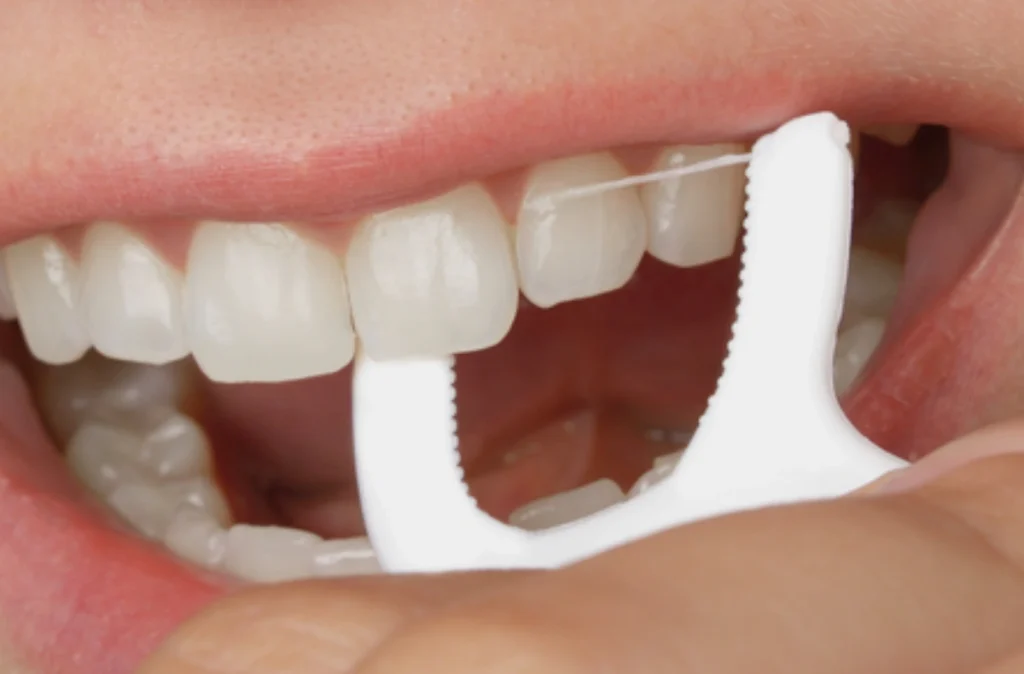
When the floss reaches the gum line, curve it into a C-shape against one tooth. Slide it into the space between the gum and tooth, then move it up and down. This step can help clean below the gumline, where plaque loves to hide.
Rinse and repeat

Use a fresh section of floss for each tooth. Unwind a new segment from one hand while winding the used section onto the other hand. Repeat the process for all your teeth, including the back molars, which often get neglected.
Types of dental floss
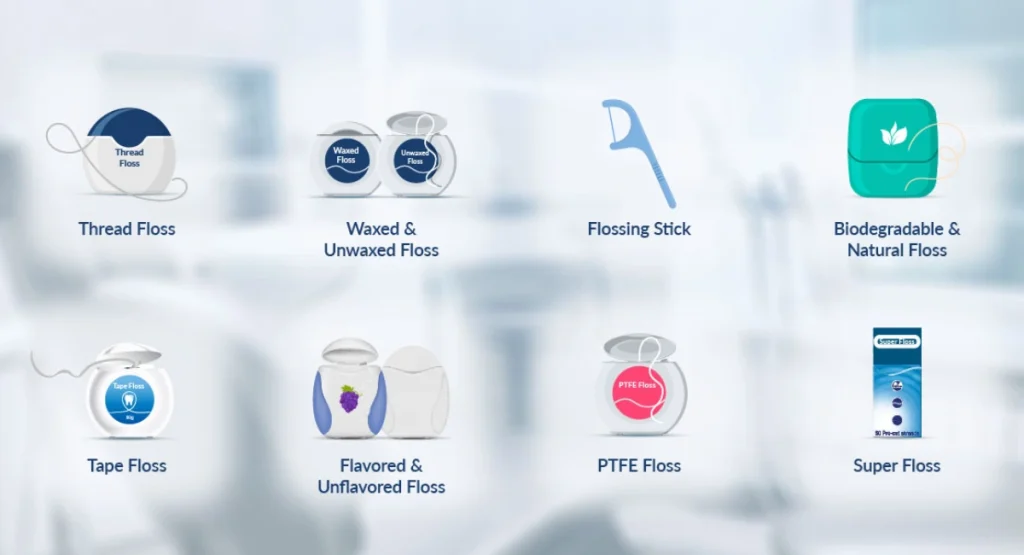
Know about the main types of dental floss.
| Type of dental floss | Description |
| Waxed floss | Coated with a light layer of wax, this floss slides between teeth and is less likely to shred. It’s used for tight spaces. |
| Unwaxed floss | Made of nylon and contains no wax coating. Thinner and better, it’s good for closely spaced teeth. However, it may shred or break more easily. |
| Dental tape | Broader and flatter than regular floss. People with wider gaps between their teeth will find this floss type good. It’s also less likely to break. |
| Polytetrafluoroethylene (PTFE) floss | Made from a material similar to Gore-Tex, this floss slides easily between tight contacts and is very durable. Recommended for those who have trouble with shredding floss. |
| Super floss | Designed for cleaning around braces, bridges, and wide gaps. It has a stiff end for threading, spongy floss for large gaps, and regular floss for tight spots. |
Floss with braces
Flossing with braces can be a bit of a hassle, but it’s super important for keeping your teeth and gums healthy while you’re going through orthodontic treatment. The key is to take your time and be gentle so you don’t mess up your braces or hurt your gums. A floss threader is your best friend here—it helps guide the floss under the main wire of your braces, making it easier to clean around each tooth.
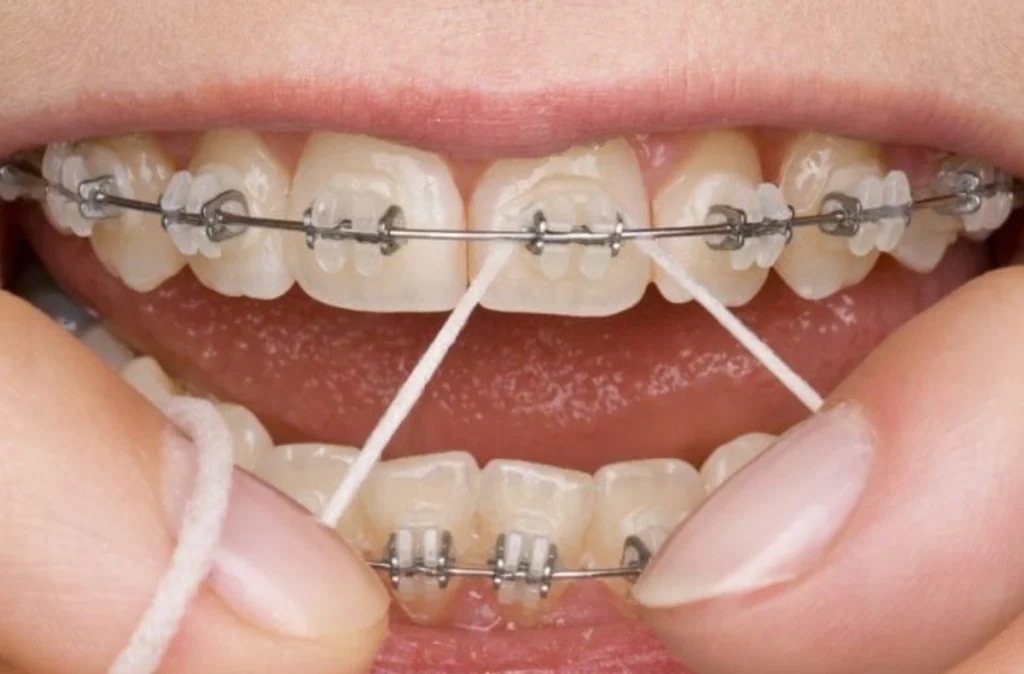
Besides regular flossing, think about using an interdental brush or a water flosser. These tools can get into those hard-to-reach spots that regular floss might miss and help get rid of food particles and plaque around your brackets and wires. After flossing, rinse with water or mouthwash to wash away any leftover debris. With a little patience and the right tools, you can keep your teeth and gums in great shape, even with braces. Read up to how to straghten teeth without braces at home.
Floss on an ingrown toenail
Dealing with an ingrown toenail can be pretty painful, but there’s a handy trick using dental floss that can help. After soaking your foot in warm water to soften the skin and nail, gradually lift the corner of the ingrown nail and place a small piece of dental floss under it. This helps to guide the nail to grow above the skin instead of digging into it. It’s a way to relieve the pressure and pain without having to visit a doctor immediately. I have some keys to share with you about this matter:
- Use clean, unwaxed floss to avoid any irritation.
- Change the floss daily and keep an eye on the toe for any signs of infection, like redness or swelling.
- If things don’t improve or if the pain gets worse, definitely reach out to a healthcare professional.
Get a ring off using dental floss
Stuck with a ring that just won’t budge? Don’t panic—dental floss to the rescue! Here’s a nifty trick: grab some dental floss and thread it under the stuck ring. Wrap the floss snugly around your finger, starting just above the ring and working your way up toward your fingertip. As you unwrap the floss from the bottom, it will help to slowly ease the ring off. It’s like a mini-escape plan for your finger! Just be gentle and patient, and you’ll have that ring off in no time.
When to floss?
Timing can make a big difference. As someone who’s been diligent about flossing for years, I can tell you that the best time to floss is really about fitting it into your daily schedule in a way that makes it a consistent habit.
Most dental experts, including myself, recommend flossing at night before you brush your teeth. Thus, you can clean all the plaque and food particles that have accumulated throughout the day, and your mouth can hold a clean slate before you go to bed. Flossing before brushing also helps to dislodge debris that can then be brushed away more easily.
For those with busy mornings, flossing in the evening might be more realistic. But if you find yourself constantly skipping flossing at night because you’re too tired, then it’s better to do it in the morning than not at all. The key is to find a time that you can stick to daily. Some people even prefer to floss after every meal, especially if they have braces or tend to get food stuck between their teeth often.
In my experience, making flossing a non-negotiable part of your daily routine, much like brushing your teeth, is what leads to the best oral health outcomes. So, find a time that works for you and stick with it.
Frequency of using dental floss
How often should you be flossing? The American Dental Association recommends flossing at least once a day to remove plaque and particles that your toothbrush can’t reach. For most people, this routine is enough.
However, the final frequency can vary depending on:
- If you have braces, you might need to floss more frequently to keep all those nooks and crannies clean. Read up to the best electric toothbrush for braces.
- People with gum disease or those prone to plaque buildup might benefit from flossing after every meal.
- If you have very tight spaces between your teeth, using a special type of floss or a floss threader might make daily flossing more effective.
Use a dental floss threader: Tutorial
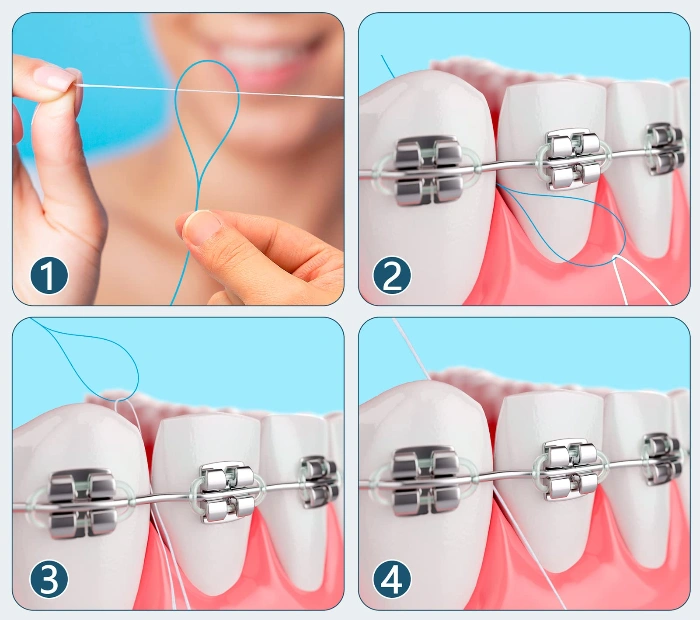
Here’s a quick tutorial to help you. I want to say this way is a bit the same as using a normal floss threader. Try to find some differences.
Get set up
Likewise, take about 18 inches of your favorite dental floss. Thread one end through the loop of the floss threader, so it looks a bit like you’re threading a needle.
Position the threader
Now, guide the pointed end of the threader under the main wire of your braces, bridge, or between your teeth. The threader helps you maneuver the floss into places regular floss just can’t reach.
Start flossing
Once the floss is through, grab each end of the floss with your fingers and slide it up and down along the sides of both teeth.
Move to the next spot
Carefully pull the floss out and move on to the next space, using the threader again as needed. Use a clean section of floss for each gap to keep everything nice and hygienic.
Flossing tool alternatives
If traditional dental floss isn’t your jam, don’t sweat it—there are plenty of other tools to keep your teeth and gums happy. Here are some great alternatives that might just make you smile:
1. Water flosser: A water flosser, like a Waterpik, is a power wash for your mouth. It uses a stream of water to blast away gunk between your teeth and along the gumline. It’s like giving your gums a little spa treatment!
2. Interdental brushes: These tiny brushes are like the Swiss Army knives of dental care. They come in various sizes to fit different gaps. Think of them as little bottle brushes for your teeth.
3. Floss picks: Floss picks are like the fast food of dental hygiene—quick, convenient, and great on the go. These pre-threaded picks make reaching the back teeth a breeze. Just don’t reuse them; they’re one-time wonders!
4. Soft picks: Soft picks have these flexible, rubbery bristles that clean between your teeth and give your gums a nice massage. You will find this alternative good if you got sensitive gums or if regular floss feels like a medieval torture device.
5. Electric flossers: These ones combine the magic of traditional flossing with the ease of an electric toothbrush. They often come with multiple tips for different needs and make flossing as easy as brushing.
Takeaways
Remember, it’s all about finding what works best for you and making it a part of your daily routine. For more tips, tricks, and everything you need to know about dental care, check out the Laifen blog. We’ve got a treasure trove of content on flossing, brushing, and keeping that smile sparkling. Don’t forget to leave a comment—we’d love to hear your thoughts and experiences!

